The Lookup control is the simplest of the data controls, and enables the agent to click a button, enter a search value, and choose a result from a grid of matches. The data is returned to fields mapped within the script. Data can be obtained from MSSQL databases, ODBC databases, OLE DB sources, or the CallScripter database itself. Wildcards can be used in the search query to allow searching for part of a string.
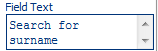
Includes an integrated button which can be renamed to reflect the search:
and an integrated search pop-up window:
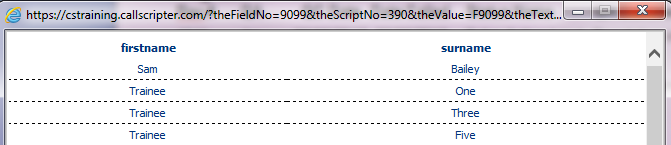
Grid of results returned in order that the agent can select from matching values:
On selecting a result, data is returned to mapped script fields
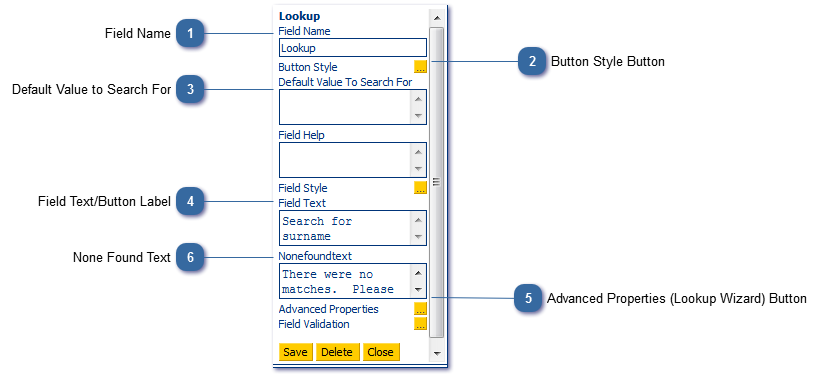
Field Name
Rename the field if required to refer to it in a calculation.
Use the advanced properties button to launch the wizard which will guide through linking to the data source and mapping source data to return to the script fields:
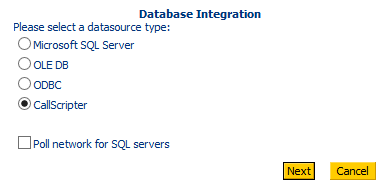
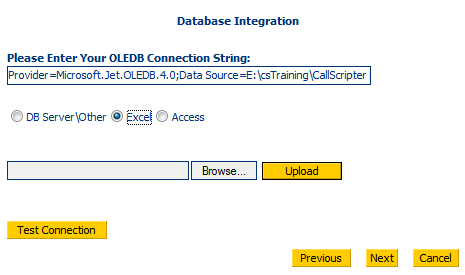
Step 1
Choose the data source type to link to. The example that follows shows an Excel spreadsheet being used, the following steps will vary slightly depending on the data source type selected. In most instances it is best to use the CallScripter database (this will allow users to update information by using a Database Get if necessary, and will not give any performance issues if many agents are accessing the data).
Step 2
If users are not connecting to the CallScripter database (for example, using Excel) the data source needs to be linked by uploading the file:
Step 3
Change the text identifier if required. In most instances this can be left as it is.
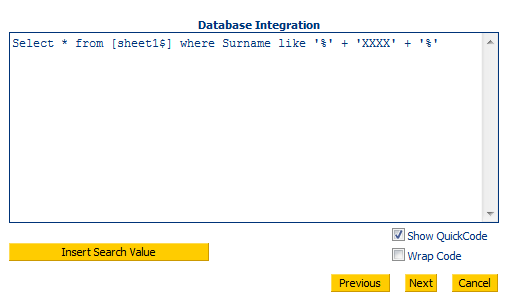
Step 4
Enter the query to return the data as required:
Note that the search value 'XXXX' is swapped out with whatever the agent has typed in the search field during the script run. The 'XXXX' element can be typed this into the query, or click on the Insert Search Value Button to add this.
Wildcards can be used (%) onto one or both ends of the search string if agents need to enter part of a value (see example above).
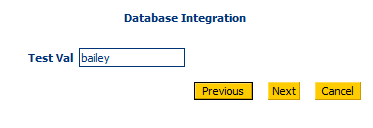
Step 5
Enter a test value that exists in the data source.
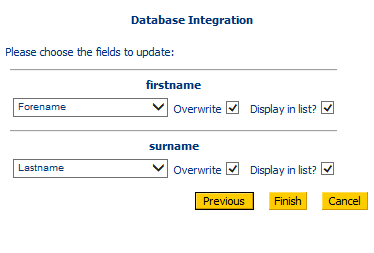
Step 6
Map the script fields to the data fields:
Overwrite: Check this option to allow the agent to go back and pick a different record from a second search. If this option is not ticked, when the agent makes a selection these results cannot be overwritten by conducting a new search.
Display in List: Choose the fields the agent will see when the lookup returns values to a grid for the agent to select from,.
Click Finish at the bottom of the mapping window to complete the wizard.
Note: the Lookup control search box can be by-passed by linking the Look Up control and a Text Box (using a Calculate field: [Look Up] = [Customer Name]), so the agent will type the entry into the text box, click Look Up and the Window will pop up with the data already populated.