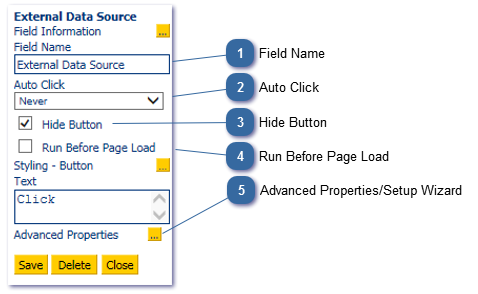
A tick in this box will cause the External Data Source control to run before the page loads (before any calculations on the page or other database controls).
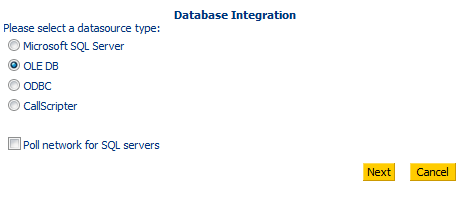
Choose the data source type to link to. The example that follows shows an Excel spreadsheet being used, the following steps will vary slightly depending on the data source type selected. In most instances it is best to use the CallScripter database (this will allow users to update information by using a Database Get if necessary, and will not give any performance issues if many agents are accessing the data).
Step 2
Create the link to the data source:
SQL Server:
If connecting to a SQL server the server name is needed. Use Windows Authentication, or SQL Authentication with a username and password.
ODBC:
If connecting to an ODBC data source, users will have either set up a system DSN or enter the ODBC Connection String for the data source.
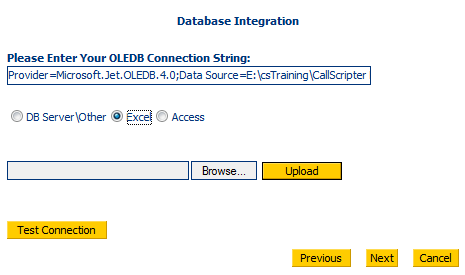
OLEDB:
If connecting to Excel, browse for the file and upload it. The connection string will be populated automatically.
CallScripter:
If connecting to the CallScripter database itself, a username and password with the appropriate permissions to access the data is needed. If a default username and password has been configured for the system, it will be automatically entered and this section of the wizard will be skipped.
Step 3
Change the text identifier if required. Ordinarily this can be left as it is.
Step 4
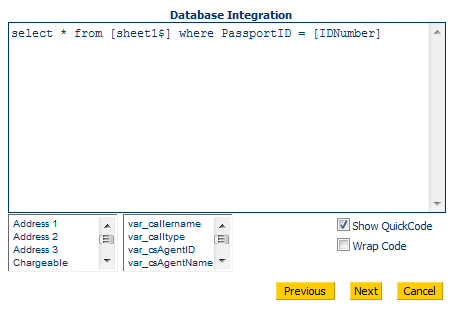
Enter the query to return the data as required:
Note all fields and variables used in the script can be included in the select statement.
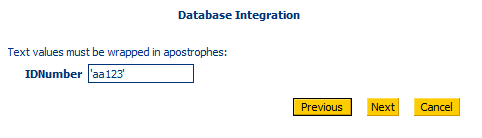
Step 5
Enter a test value from the data source.
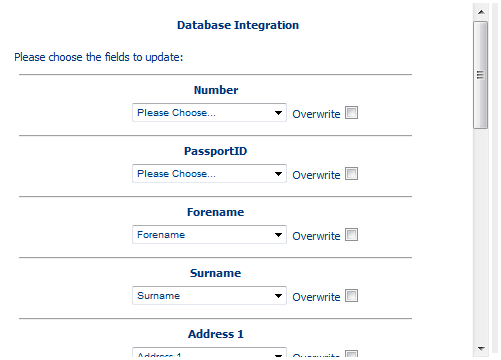
Step 6
Map the script fields (appearing in the drop down lists) to the data fields (appearing as bold headings above the drop down box). Variables and fields can be mapped.
Overwrite: Check this option to allow the agent to go back and pick a different record from a second search.
Click Finish at the bottom of the mapping window to complete the configuration of your External Data Source control.